
Setting up a Growatt hybrid inverter involves secure wall mounting with proper clearance, connecting PV strings, batteries, and the grid, followed by configuring the ShinePhone app for monitoring. Key steps include grounding the unit, checking DC polarity, installing communication cables for the battery, and commissioning via the Shine WiFi-X stick.
1. Physical Installation
- Location: Mount the inverter vertically on a solid surface, ideally at eye level, in a well-ventilated area with 20 cm clearance on sides and 50 cm top/bottom.
- Mounting: Use the provided bracket, drill holes, insert expansion bolts, and secure the inverter with screws.
- Grounding: Connect the grounding cable to the inverter housing first for safety.
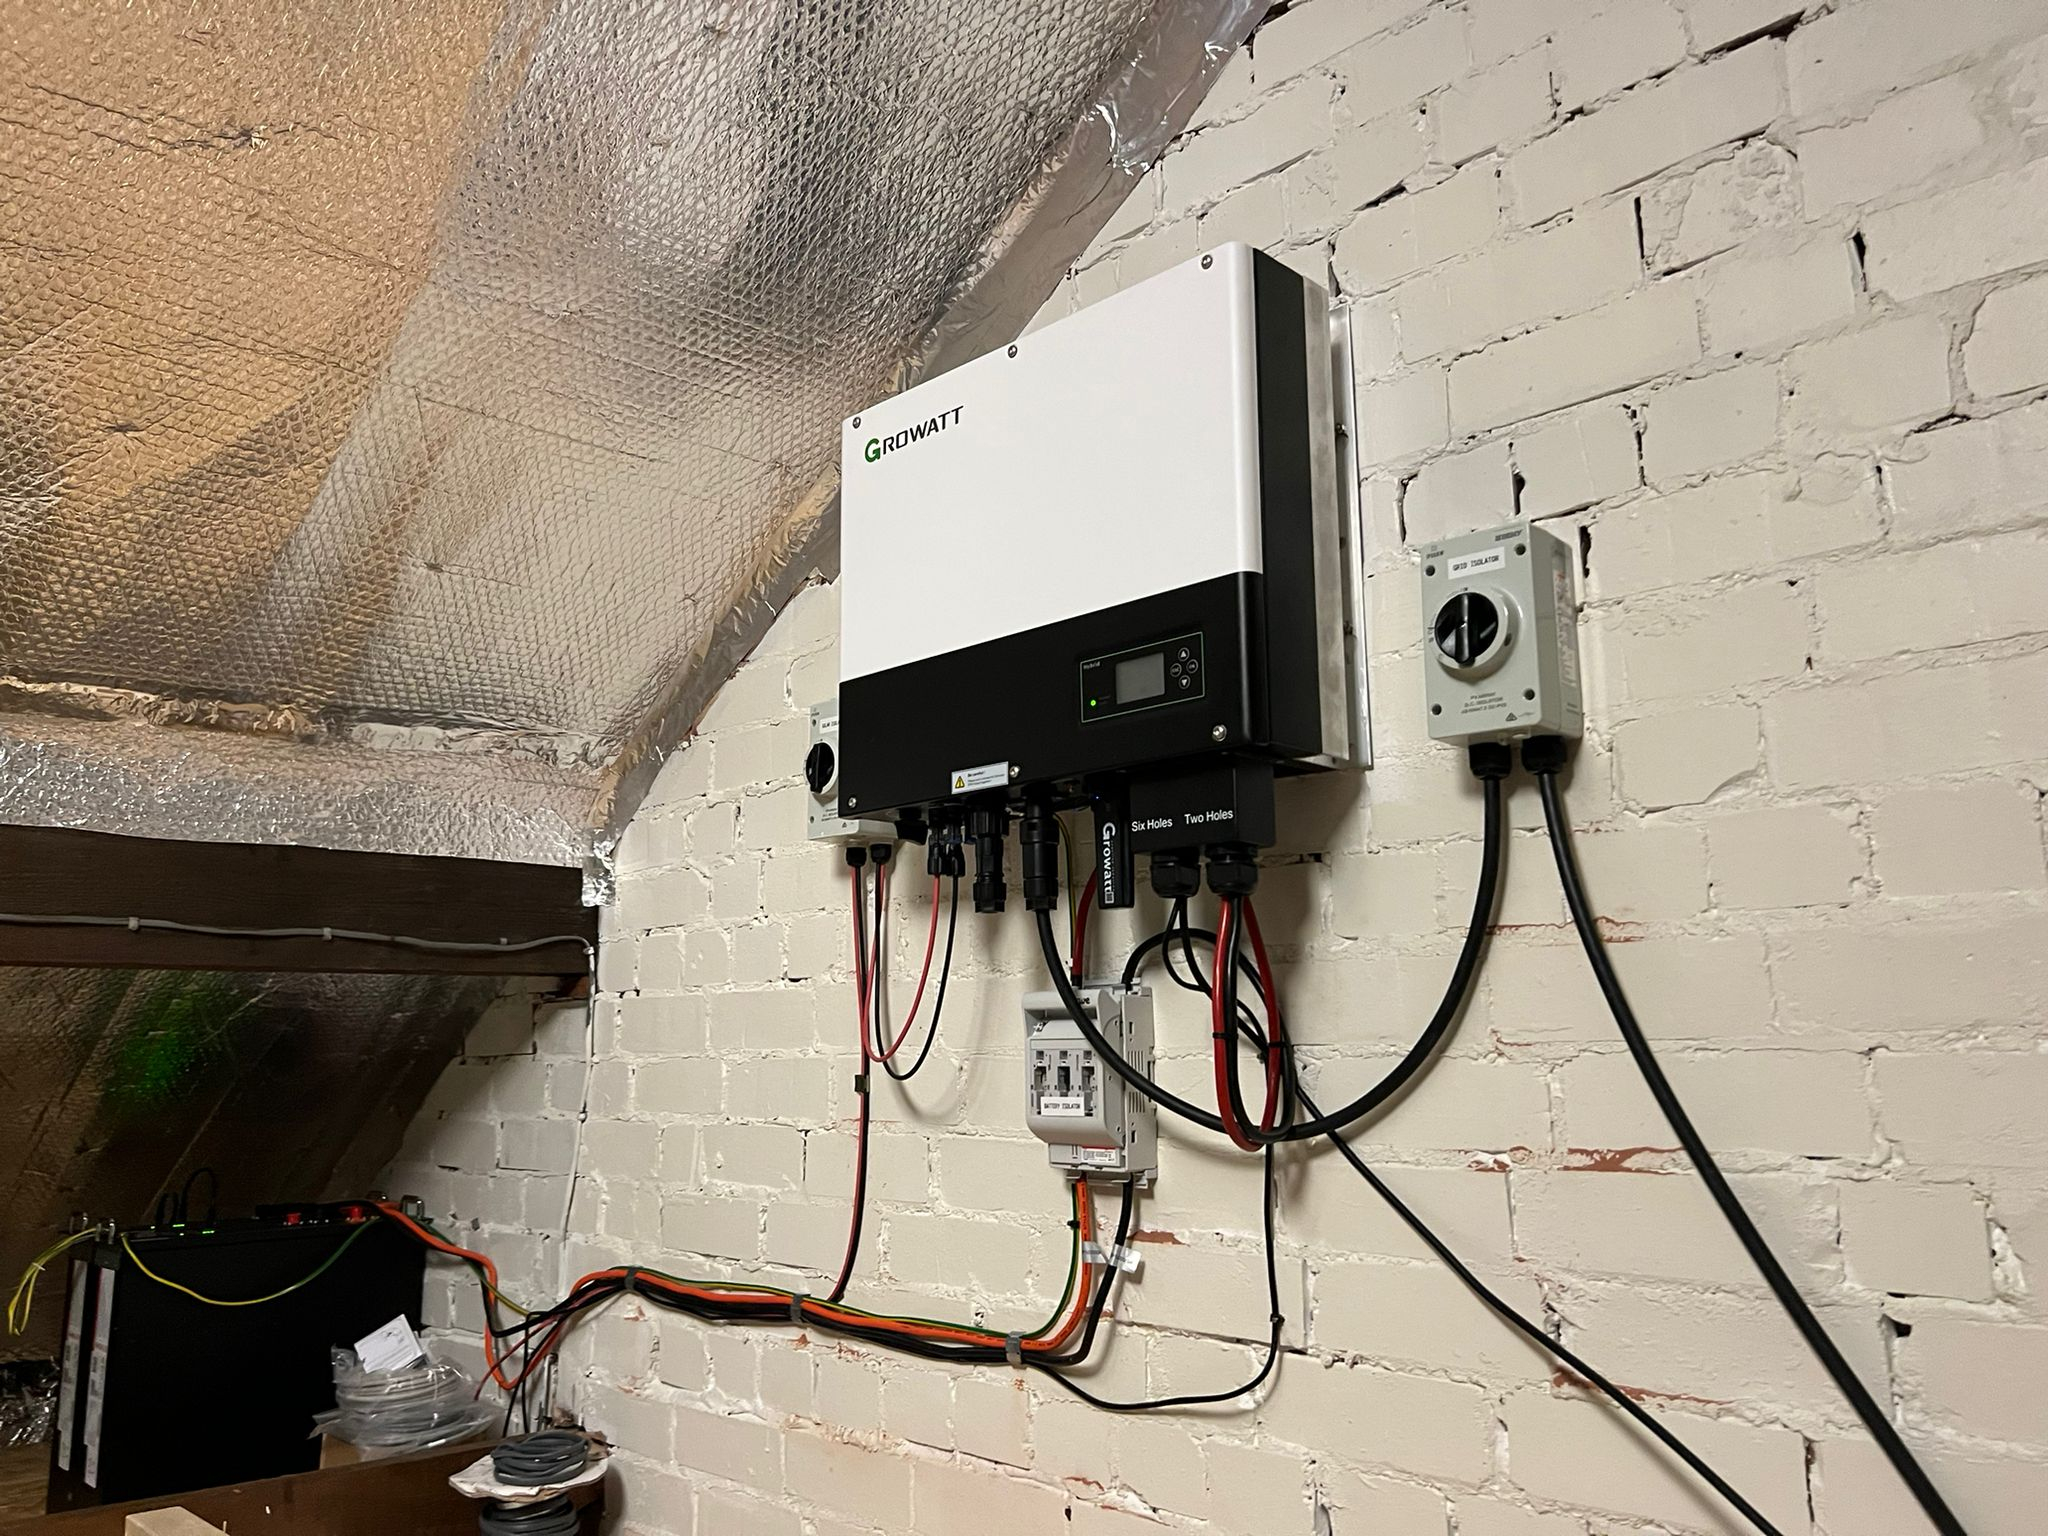
2. Electrical Wiring (DC & AC)
- PV Connection (DC): Ensure the PV switch is off. Connect the solar panels to the DC input terminals, ensuring correct polarity (positive to positive, negative to negative). Max PV voltage varies by model (e.g., 1100V for MOD-XH).
- Battery Connection: Connect the battery power cables (positive and negative) and communication cables (CAT5/6) to the dedicated battery terminals.
- Grid Connection (AC): Connect the AC side output to the home electrical panel.
- CT/Meter Installation: Install the Current Transformer (CT) or smart meter near the grid entry point to monitor consumption and export limits.
This video shows how to wire the Growatt WIT 4-15K-HU inverter:

52s


Growatt New Energy
YouTube • 6 Mar 2025
3. Commissioning and Networking
- Power On: Turn on the PV switch, battery, and AC breaker.
- Data Logger: Remove the USB cover and plug in the Shine WiFi-X (or 4G) stick.
- App Setup: Download the ShinePhone app, create a plant, and scan the data logger QR code.
- Configuration: Connect to your home Wi-Fi network through the app to complete the setup and check for firmware updates.
4. Essential System Settings
- Grid Profile: Ensure the correct grid code is set for your region.
- Battery Mode: Configure the Energy Management System (EMS) for self-consumption, backup, or time-of-use optimization.
- Export Limit: Enable the external CT and set export limits if feeding power back to the grid is restricted.
Disclaimer: Installation involves high-voltage components and should be performed by a qualified technician. Always refer to the specific model manual.